Guide
Hand Embroidery for Beginners: A Calm, Complete First Guide
Everything you need to pick up a needle for the first time: a short tools list, hoop setup, how to handle thread, your first stitches and a small project to finish this weekend.
By Harshit Soni · Published · Updated
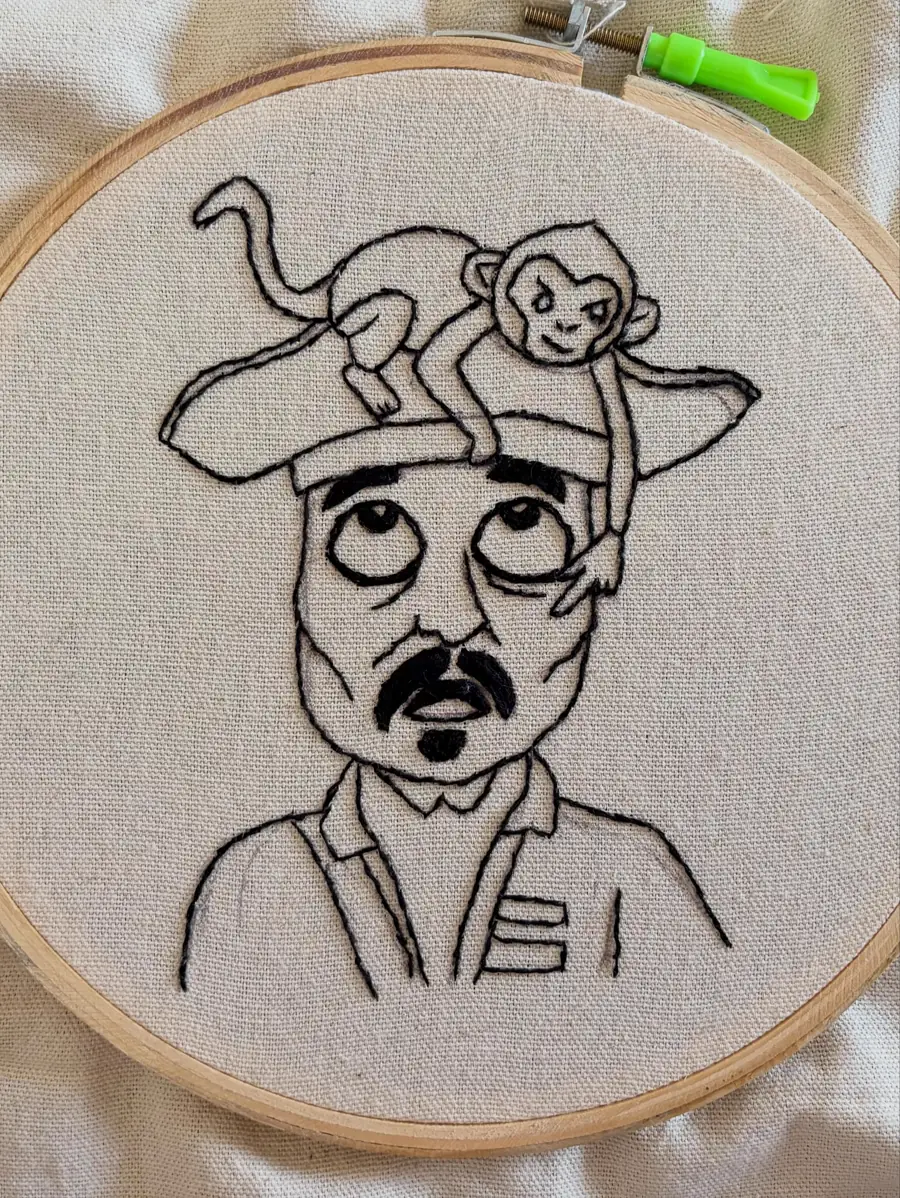
Hand embroidery for beginners starts with five simple tools: a hoop, tightly woven cotton fabric, stranded cotton thread, an embroidery needle and small sharp scissors. Learn backstitch, satin stitch and French knots, stitch with two strands in short lengths, keep the hoop drum-tight and finish one small project, like a floral initial, first.
If you have been saving embroidery reels on your phone and wondering whether you could ever do that yourself, this guide is for you. Hand embroidery for beginners does not need a big budget, a sewing machine or any artistic training. It needs a needle, some thread, a piece of fabric, a hoop and a little patience.
At Haré Creations every piece we make is drawn and stitched by hand, from our fan-art character hoops to floral name sweatshirts. We still remember our own wobbly first outlines, and most of what made those early months easier was knowing a handful of simple habits. This post collects those habits in one place.
We will walk through the tools, how to set up your hoop, how to prepare thread, the first few stitches worth learning, a starter project and the mistakes almost everyone makes. Take it one section at a time. There is no rush.
Key takeaways
- A 6 inch hoop, cotton or cotton-linen fabric and stranded cotton thread are enough to begin.
- Two strands of thread is a good default for outlines and details.
- Cut thread about 45 cm long so it does not tangle or fray.
- Backstitch, satin stitch and French knots cover most beginner designs.
- A tight hoop and gentle pulling prevent most puckering.
Is hand embroidery easy for beginners?
Yes, hand embroidery is easy to start because it is quiet, portable and forgiving. You can stitch on a sofa, in a train or during a power cut with a torch, and a mistake is just a few stitches you unpick with the tip of your needle.
It is also deeply personal. A name stitched on a handkerchief for Raksha Bandhan, a tiny flower on a kurta cuff or an initial on a tote bag carries a warmth that a printed design rarely does.
- Low cost to start: the basic tools are inexpensive and last for years.
- Small space: everything fits in one pouch or shoebox.
- Easy to pause: put the hoop down mid-stitch and pick it up tomorrow.
- Endless range: from simple lettering to shaded portraits, the same few stitches build everything.
What tools do you need for hand embroidery?
You need six tools for hand embroidery: fabric, a hoop, stranded cotton thread, embroidery needles, small scissors and a marking tool. Here is what we would put in a first pouch, in order of importance.
Must-haves
- Fabric: a medium-weight, tightly woven cotton or cotton-linen. We stitch on cotton-linen because it holds stitches neatly without puckering. Avoid stretchy knits for now.
- An embroidery hoop: a 6 inch (about 15 cm) wooden or plastic hoop with a screw at the top is the easiest size to hold and fits a small design.
- Stranded cotton embroidery thread: this is the soft, six-strand thread sold in small skeins. Start with black plus four or five colours you love.
- Embroidery needles: a mixed pack of embroidery (crewel) needles. These have a sharp point and a long eye that makes threading easier.
- Small sharp scissors: a dedicated pair for thread only, so they stay sharp.
- A marking tool: a water-soluble fabric pen or a sharp pencil for drawing your design.
Nice to have later
- A needle threader, if your eyesight or the light is not great.
- A thimble, useful when you move on to thicker fabric.
- A small lamp or a spot near a bright window for evening stitching.
- A zip pouch to keep threads clean and away from humidity during the monsoon.
Skip the hundred-colour thread boxes for now; a small, chosen palette teaches you more about colour. If you are curious about fabric choices in more depth, read our guide on the best fabric for embroidery.
How do you set up an embroidery hoop?
To set up an embroidery hoop, centre the fabric between the two rings and tighten it until it is drum-tight. Proper tension is the single biggest difference between neat and messy early work. Fabric that sags lets stitches pull and pucker. Fabric that is drum-tight gives every stitch a firm surface to sit on.
- Loosen the screw and separate the inner ring from the outer ring.
- Lay your fabric over the inner ring, design centred.
- Press the outer ring down over it, then tighten the screw partway.
- Gently pull the fabric edges all around, like tightening a drum, keeping the weave straight.
- Tighten the screw fully. Tap the fabric; it should sound like a soft drum.
Check the tension every time you pick up your work, because fabric relaxes as you stitch. When you finish a session, loosen the hoop a little so it does not leave a permanent ring mark on the fabric.
How do you prepare embroidery thread?
To prepare embroidery thread, cut a short length of stranded cotton and separate its six fine strands so you stitch with only two or three. Separating strands lets you control how thick or delicate a line looks.
Cutting and separating strands
- Cut a length roughly from your fingertips to your elbow, around 45 cm. Longer pieces tangle and fray.
- Hold the cut end and gently pull out one strand at a time, straight up. Let the rest untwist on its own.
- Put the strands you need back together side by side. Two strands is a good default for outlines; three to four gives bolder fills.
Threading and starting
Flatten the end of the thread between your lips or fingers, or trim it at an angle, then push it through the eye. For your first projects, a small knot at the end of the thread is fine. As you get comfortable you can try a waste knot, where you place the knot on the front a little away from your design, stitch over the tail at the back, and snip the knot off later.
To finish a thread, turn the hoop over and weave the needle under three or four stitches on the back, then trim. This keeps the front clean and stops the thread slipping out.
Which stitches should beginners learn first?
Beginners should learn four stitches first: running stitch, backstitch, satin stitch and French knot. Practise each one on a scrap in the corner of your hoop before starting a design. For step-by-step detail on each, see our full guide to basic embroidery stitches.
Running stitch
Bring the needle up, go down a short distance ahead, come up again with a small gap, and repeat. It makes a dashed line and teaches you to keep stitch length even.
Backstitch
This is the stitch we use most for outlines, faces and lettering. Come up one stitch length ahead, then go back down into the end of the previous stitch. The result is a smooth, continuous line. Keep stitches shorter on curves so they follow the shape.
Satin stitch
Satin stitch fills small shapes with long, parallel stitches laid right next to each other. Outline the shape first with backstitch or split stitch, then fill across it. Keep shapes small at first; very long satin stitches can snag.
French knot
Bring the needle up, wrap the thread around it once or twice, then insert the needle right beside where it came up while holding the thread taut. Pull through slowly. French knots make lovely flower centres, eyes and tiny dots.
| Stitch | What it looks like | Best for |
|---|---|---|
| Running stitch | A dashed line | Practising even stitch length, simple borders |
| Backstitch | A smooth, continuous line | Outlines, faces and lettering |
| Satin stitch | A smooth, glossy fill | Small shapes like petals and leaves |
| French knot | A small raised dot | Flower centres, eyes and texture |
A simple first project you can finish
The best first project is small enough to finish in a few evenings. Finishing matters more than perfection, because a completed hoop gives you the confidence to start the next one.
We suggest a single initial or a short word surrounded by three or four simple flowers. It uses backstitch for the letter, lazy daisy or satin stitch for petals and French knots for centres. It is also exactly the kind of thing you can later stitch on a tee, like the floral initials we make.
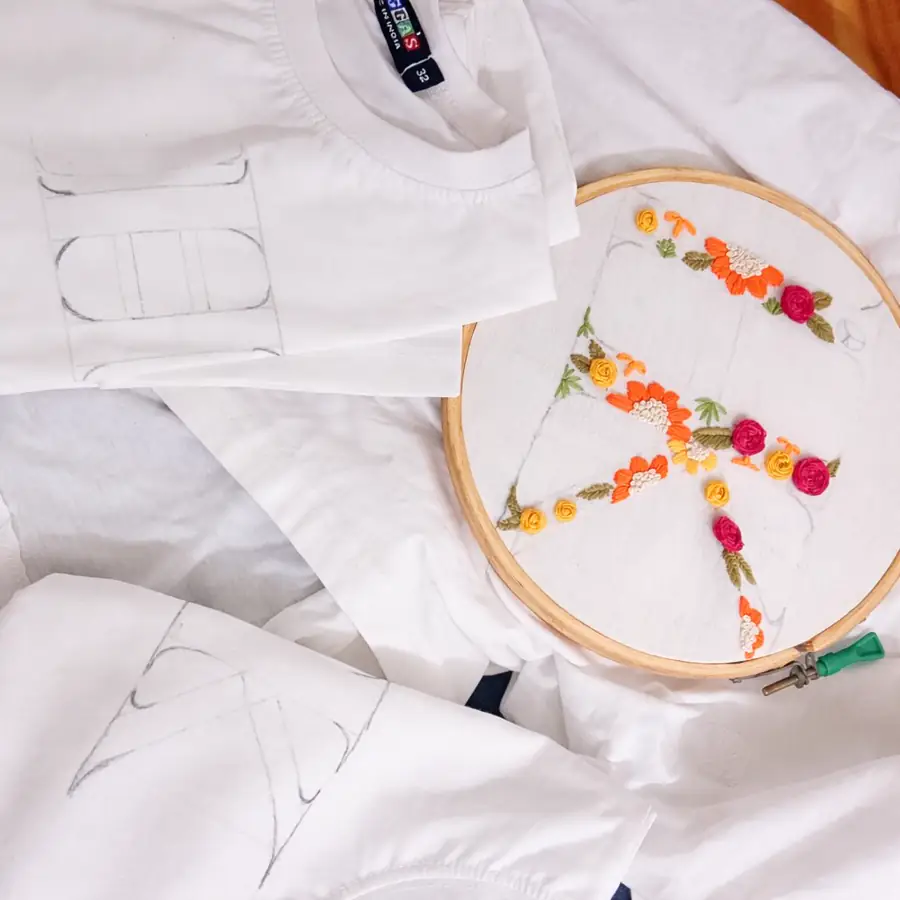
- Draw your letter about 5 cm tall in the centre of the fabric. Add simple five-petal flowers around it.
- Hoop the fabric tight.
- Backstitch the letter in two strands of a dark colour.
- Fill each petal with satin stitch or a lazy daisy loop in two or three strands.
- Add French knot centres and a few leaves in green backstitch.
- Remove the marks (for a water-soluble pen, a light dab of water) and let it dry flat.
If you need help getting your design onto the cloth, our post on how to transfer an embroidery pattern covers the pencil, window and water-soluble methods in detail.
Common beginner mistakes and easy fixes
The most common beginner mistakes are pulling too tight, using thread that is too long and stitching in a loose hoop, and each has an easy fix. Knowing them in advance saves a lot of frustration.
- Pulling too tight: stitches that pucker the fabric mean you are tugging. Pull just until the thread sits flat on the surface.
- Thread too long: long lengths twist and knot. Cut shorter pieces and re-thread more often.
- Twisted thread: let the needle hang free every few stitches so the thread untwists itself.
- Loose hoop: re-tighten often. Most uneven stitching comes from slack fabric.
- Carrying thread across the back: jumping long distances behind light fabric can show through. Finish off and restart instead.
- Starting too big: a large design takes weeks. Small hoops teach faster.
If a section looks wrong, stop and unpick it gently with the needle tip rather than cutting into the fabric. Small, patient fixes are part of the craft.
How to keep improving
Progress in embroidery comes from repetition. Stitch a little most days rather than a lot once a month. Even fifteen minutes before bed builds control in your fingers.
- Make a sampler: one hoop with a row of each stitch you know. Add a row every time you learn something new.
- Try one new stitch per project, not five.
- Look at the back of your work. A tidy back usually means a neat front.
- Work in good light. Many beginner mistakes are simply the result of squinting.
- Keep your threads organised by colour on small cards so you can find shades quickly.
Once outlines feel steady, move on to shading. Long and short stitch, which we use for skin tones and soft colour changes in our character hoops, is the natural next step. Pick your palette thoughtfully too; our guide on choosing thread colours helps with that.
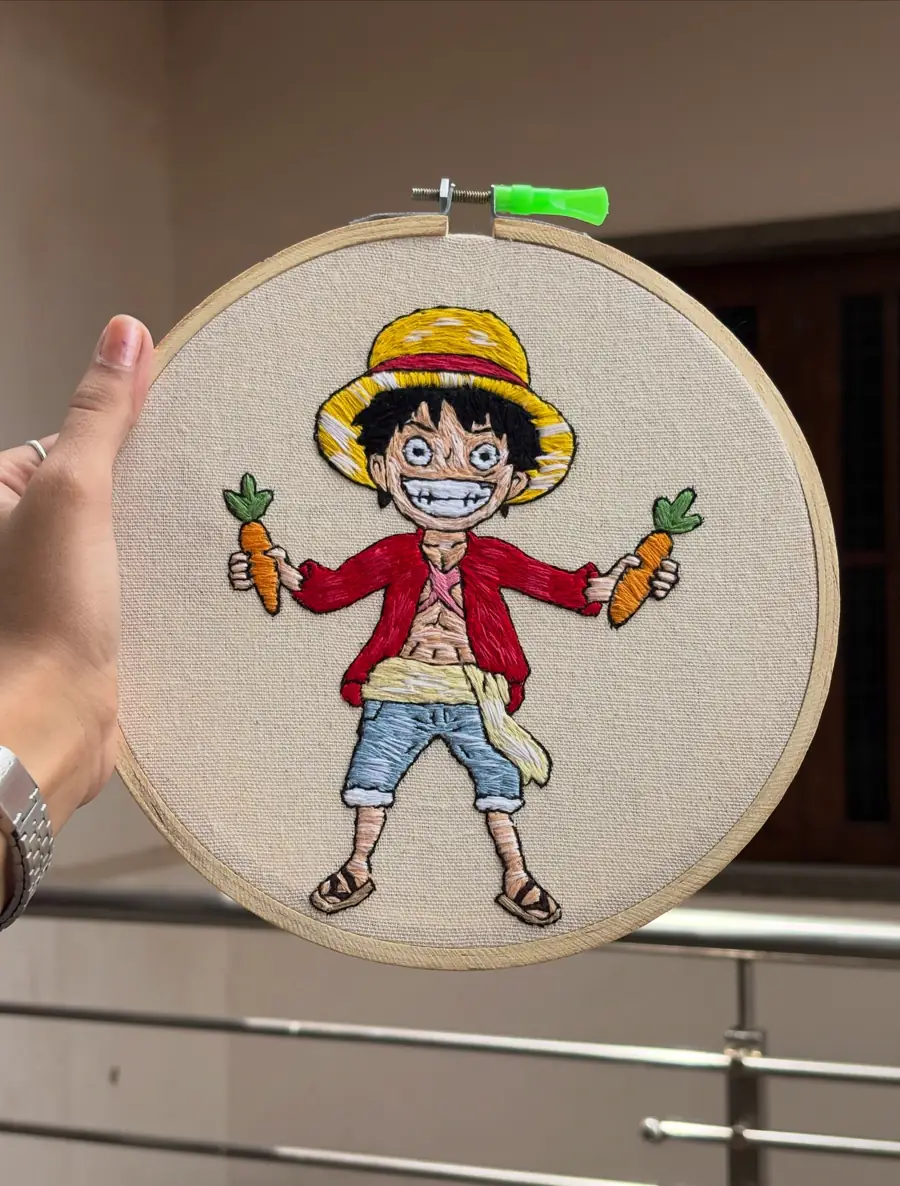
It helps to see how a finished piece is built step by step. Our process page shows how we go from pencil sketch to outline to layered colour, which is the same order you will follow as your skills grow.
Stitching through the seasons in India
Stitching at home in India means planning around humidity and heat. In the monsoon, humidity can make fabric feel limp and threads a little fuzzy. Keep supplies in a closed box or pouch, and wash and dry your hands before stitching so oils and moisture do not mark light fabric.
In summer, sweaty hands can do the same, so keep a small cotton cloth nearby. Festival season is a lovely time to practise: a small stitched initial or flower makes a thoughtful Diwali or Raksha Bandhan gift, and working towards a date is great motivation to finish.
Frequently asked questions
How long does it take to learn hand embroidery?
You can learn the four basic stitches in an afternoon and finish a small first project within a week of relaxed evenings. Neat, confident outlines usually come with a few weeks of regular practice. Shading and detailed work take longer, but every project teaches you something.
What is the easiest stitch for beginners?
Running stitch is the simplest, and backstitch is the most useful to learn first. Backstitch gives you clean outlines and lettering, which covers a large part of beginner designs.
How many strands of thread should a beginner use?
Two strands of stranded cotton is a comfortable default for outlines and details. Use three or four strands for bolder lines or faster fills, and a single strand for very fine detail.
Can I embroider on clothes as a beginner?
Yes, but start on a woven cotton shirt, tote or tee in a hoop, and keep the design small. Stretchy fabrics are trickier, so practise on stable woven fabric first and move to knits once your tension is steady.
Do I need to know how to draw?
Not at all. You can trace simple designs, use lettering from a printout or start with basic shapes like flowers and leaves. Drawing helps later, but plenty of beautiful embroidery begins with tracing.
Hand embroidery for beginners: your next step
Hand embroidery for beginners is really about three things: a tight hoop, short lengths of thread and a small first project you actually finish. Everything else, from shading to lettering, grows from there with practice.
If you would like to see what those same simple stitches can become, browse our handmade hoops in the shop. And if you would rather have a piece stitched for someone special, you can request a custom piece: share your idea, and we will send a sketch with the price and timeline for you to approve.
Topics: hand embroidery for beginners, how to start hand embroidery, embroidery kit for beginners india, easy embroidery designs for beginners, hand embroidery tools list, how to use an embroidery hoop, first embroidery project ideas, learn embroidery at home