Guide
How to Transfer Embroidery Pattern to Fabric: 6 Reliable Methods
Six practical ways to get a design from paper onto cloth, which marking tools to trust, and how to handle dark fabrics, t-shirts and tricky details.
By Harshit Soni · Published · Updated
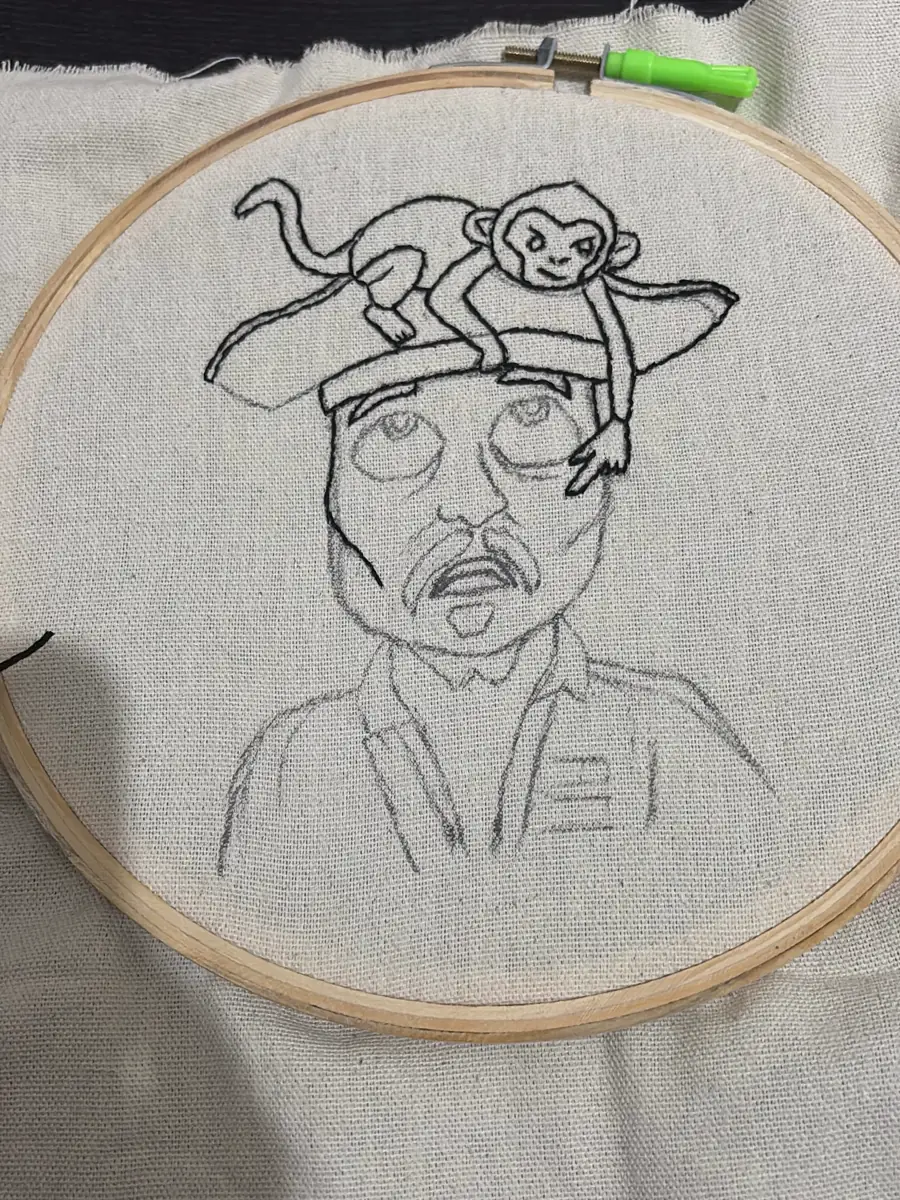
Here is how to transfer embroidery pattern to fabric: for light, thin cloth, tape the design to a bright window or light box and trace it with a water-soluble pen. For dark, thick or stretchy fabric, use water-soluble stabiliser, tissue paper or dressmaker's carbon paper. Test the marker on a scrap first and trace lightly.
You have found the perfect design, your threads are ready and your hoop is waiting. Now comes the step that trips up almost everyone at first: how to transfer embroidery pattern to fabric so the lines are clear enough to follow but disappear once you are done.
There is no single best way. The right method depends on your fabric colour, its thickness, how detailed the design is and whether the lines will be fully covered by stitches. In our studio we sketch many designs straight onto cotton-linen with a pencil, and trace others when we need a precise copy of a drawing.
Below are six reliable methods, the marking tools that go with them, and our tips for getting crisp, accurate lines every time. We will also cover what to do when your fabric is dark, stretchy or too thick to see through.
Key takeaways
- Window or light box tracing with a water-soluble pen is the easiest method for light fabric.
- Water-soluble stabiliser works best for dark fabric, t-shirts and sweatshirts.
- Iron-on transfer pens print a mirror image and are usually permanent.
- Always test a marker on a scrap, including removing it, before using it on a real piece.
- Remove water-soluble marks before ironing, because heat can set them.
How should you prepare fabric before transferring a pattern?
Before transferring a pattern, wash, iron and centre your fabric so it is flat, clean and correctly positioned. Skipping this step is why many designs end up crooked or smudged.
- Wash first if the fabric will be washed later. Cotton can shrink a little, and a design traced on unwashed fabric may distort after the first wash.
- Iron it smooth. Creases throw lines off and make tracing uneven.
- Find the centre. Fold the fabric in half both ways and lightly press or pinch the folds. Where they cross is your centre.
- Leave a margin. Keep at least 5 cm of fabric around the design on every side so it fits your hoop comfortably.
- Mark your pattern's centre too, so you can line the two up exactly.
Also decide how your design should sit on the weave. For lettering in particular, align the baseline with the straight grain of the fabric so words do not look tilted once framed.
Which marking tool is best for embroidery?
A water-soluble pen is the best marking tool for most light fabrics, a light pencil suits lines you will fully cover, and chalk suits dark cloth. Always test a new marker on a scrap of the same fabric, including removing it, before using it on a real piece.
Water-soluble pens
These draw a blue or white line that rinses out with cold water. They are our first suggestion for most light fabrics. Avoid ironing over the marks or leaving the piece in direct sun before rinsing, because heat can make some marks harder to remove.
Heat-erasable pens
These lines vanish with the heat of an iron or hairdryer. They are convenient, but the ink can reappear in cold conditions, and on some fabrics they leave a faint ghost line. Test carefully, and avoid them on pieces you cannot afford to have marked.
Air-erasable pens
These fade on their own, usually within hours or a day or two, faster in humid weather. They suit small designs you will stitch in a single sitting, but are frustrating for large projects.
Pencils and chalk
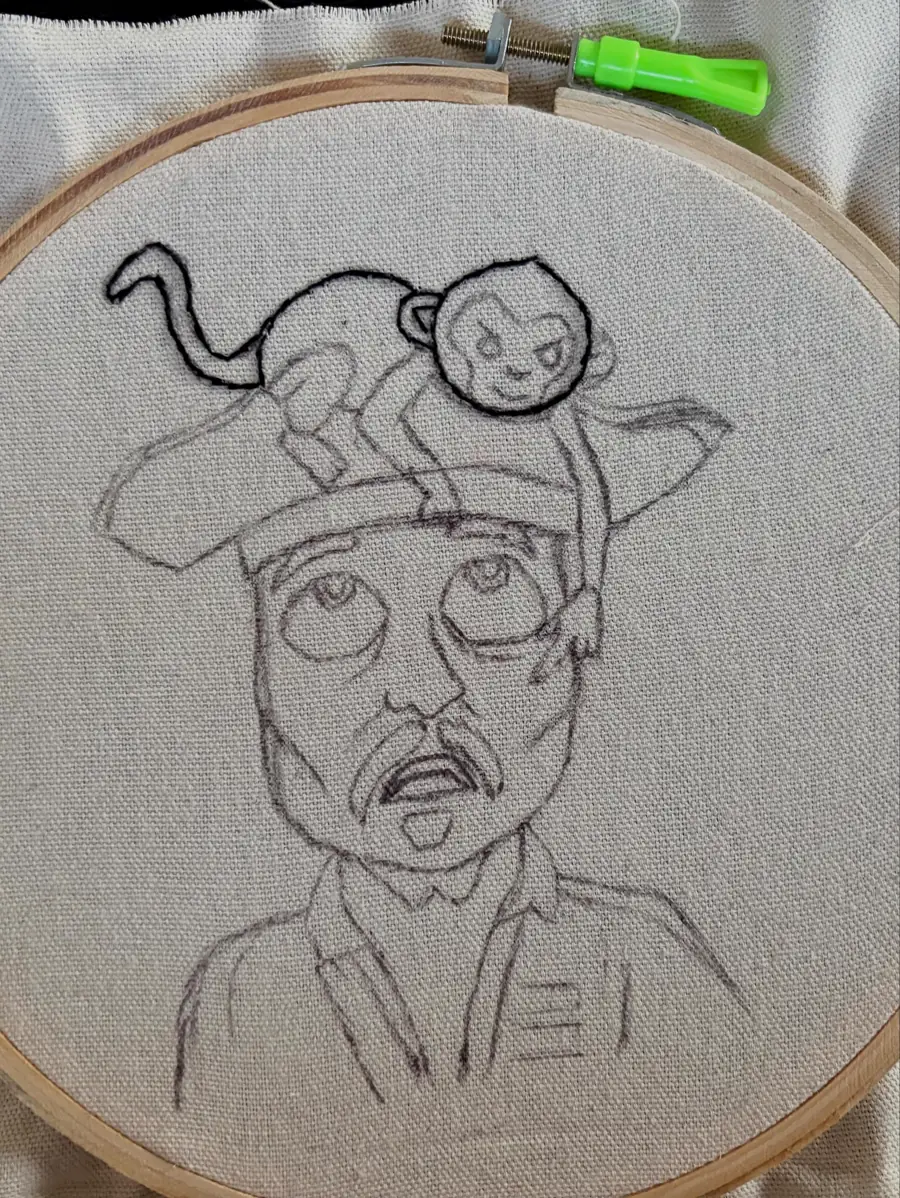
A sharp, light graphite pencil gives a fine, precise line and is how we often start our character sketches. Graphite does not wash out easily, so draw lightly and plan to cover every line with stitches. For dark fabrics, a white or yellow chalk pencil works, though it rubs off as you handle the hoop.
How to transfer embroidery pattern to fabric: 6 methods
The six reliable transfer methods are window tracing, carbon transfer paper, water-soluble stabiliser, tissue paper, iron-on transfer pens and freehand drawing. Most stitchers end up using two or three depending on the project.
If you are wondering how to transfer embroidery pattern to fabric with only basic supplies at home, start with method one or method six. A bright window, some tape and a light pencil are enough for a first project.
1. Window or light box tracing
This is the easiest method for light, thin fabrics like cotton, cotton-linen and muslin.
- Print or draw your design on plain paper with dark, clear lines.
- Tape the paper to a sunny window, or place it on a light box or a tablet screen turned to full brightness with a blank white page.
- Tape the fabric over it, centres aligned and grain straight.
- Trace the lines with a water-soluble pen or light pencil.
Tip: trace on a bright morning. Evening light through a window is rarely strong enough, and a phone torch under a glass table can work in a pinch.
2. Dressmaker's carbon or transfer paper
Useful when fabric is too thick or dark to see through. Place the transfer paper coloured side down on the fabric, lay the pattern on top, and trace the lines firmly with a ballpoint pen or stylus.
Choose a transfer paper made for fabric, not office carbon paper, which can leave permanent smudges. Pick a colour that contrasts with the fabric, press evenly, and lift a corner halfway to check that the lines are coming through.
3. Water-soluble stabiliser
This is our favourite answer for dark fabrics, t-shirts and sweatshirts. You draw or print the design onto a sheet of water-soluble stabiliser, some of which have a sticky back. Stick or tack it onto the fabric, hoop it and stitch straight through both layers.
When the stitching is done, soak the piece in cool water and the stabiliser dissolves away. Rinse well so no residue stiffens the fabric, then dry flat. Check the maker's instructions for your particular brand, and test on a scrap first.
4. Tissue or tracing paper
Trace your design onto thin tissue paper, then tack it onto the fabric with a few large running stitches around the edge. Stitch through the paper and fabric together, then gently tear the paper away.
It is inexpensive and works on any colour of fabric. The downside is picking out small bits of paper trapped under dense stitches; tweezers help. It suits outline-heavy designs better than big satin fills.
5. Iron-on transfer pens and pencils
Draw the design on paper with a heat transfer pen, then place it face down on the fabric and press with a hot iron. Remember that the image transfers as a mirror, so reverse any lettering before you draw it.
These marks are usually permanent. Use them only when every line will be completely covered by stitching, and keep lines thin.
6. Freehand drawing
Drawing directly on the fabric in the hoop gives you the most freedom. It is how we begin many custom pieces: a light pencil sketch that we adjust until the proportions feel right, then stitch over with backstitch.
If you are not confident, combine methods: trace the main shapes from a printout, then add small details freehand. You can also mark a few guide points, such as eye positions or a lettering baseline, and draw between them.
| Method | Best for | Marks removable? | Watch out for |
|---|---|---|---|
| Window or light box tracing | Light, thin fabrics like cotton and muslin | Yes, with a water-soluble pen | Needs strong light |
| Carbon transfer paper | Thick or dark fabric | Depends on the paper | Office carbon can smudge permanently |
| Water-soluble stabiliser | Dark fabric, tees and sweatshirts | Yes, it dissolves in water | Rinse well so no residue remains |
| Tissue paper | Any fabric colour | Yes, it tears away | Bits trapped under dense stitches |
| Iron-on transfer pen | Designs fully covered by stitches | Usually no | Prints a mirror image |
| Freehand drawing | Custom and flexible designs | Depends on the marker | Needs a light, confident hand |
How do you transfer a pattern to dark or stretchy fabric?
Dark, stretchy and textured fabrics are easiest to mark with water-soluble stabiliser or tissue paper, because you cannot see through them or draw on them cleanly. Here is what we do for the common problems.
- Dark fabric: use water-soluble stabiliser, tissue paper, or a white chalk or fabric pencil. Light-box tracing rarely works.
- T-shirts and knits: stick-on water-soluble stabiliser gives support and a clear pattern at the same time. Do not stretch the fabric while marking.
- Thick fabric like denim or canvas: carbon transfer paper or stabiliser, since you cannot see through it.
- Textured weaves: pens can skip over bumps. Tissue paper or stabiliser gives cleaner lines.
- Delicate or sheer fabric: trace very lightly with a water-soluble pen; avoid heavy pressure that can distort the weave.
Marking ready-made garments
Garments add one more challenge: you cannot lay a whole shirt flat against a window. Slip a piece of card inside the tee or kurta so marks do not bleed through to the back layer, smooth the area and use stick-on stabiliser or a light chalk line.
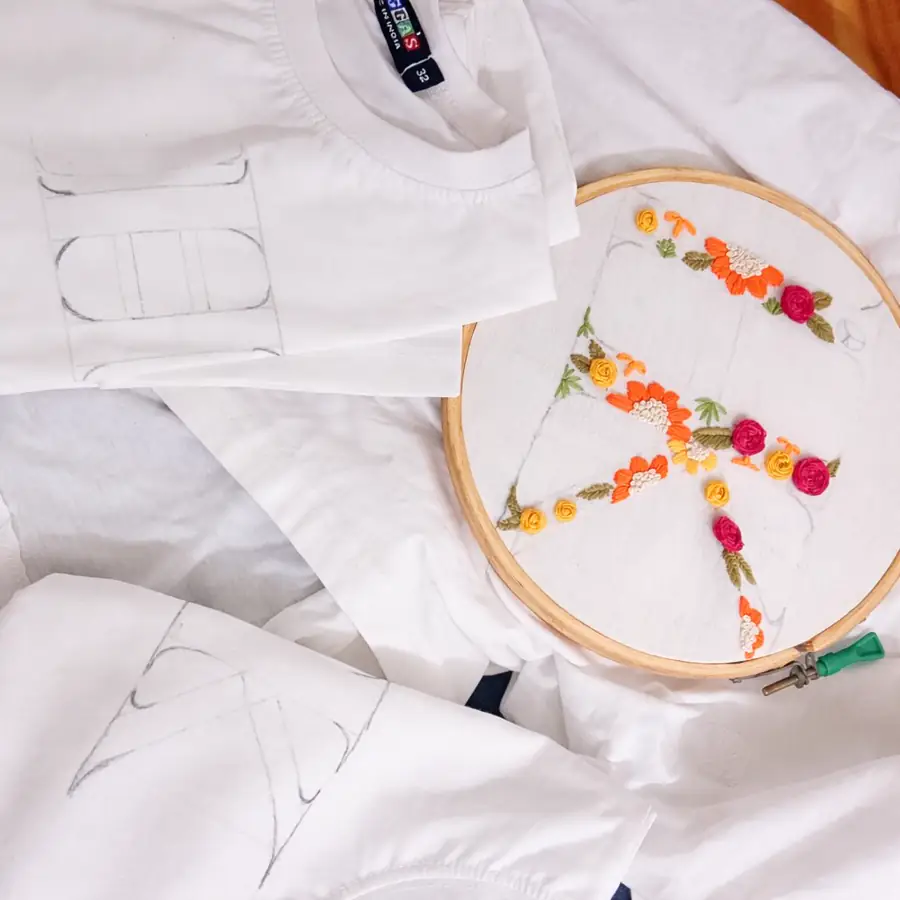
Decide placement before you mark anything. Try the garment on or measure from the neckline and shoulder seams so the design sits centred when worn. For a name across a sweatshirt, like our floral name sweatshirt, this check makes a big difference to how finished it looks.
For more on picking cloth that makes both transferring and stitching easier, see our guide to the best fabric for embroidery.
How do you get crisp, accurate transfer lines?
Crisp transfer lines come from a simplified design, a light hand and clean fabric.
- Simplify first. Before tracing, go over the design and decide which lines really need to be stitched. Too many lines confuse you later.
- Use dots for details. Mark tiny features like eyes or knots with a dot instead of a full circle.
- Trace lightly. A thin line is easier to cover and easier to remove.
- Keep lettering straight. Draw a faint baseline with a ruler before tracing any text.
- Transfer in stages for big designs. Trace only the part you will stitch this week, especially with fading pens.
- Keep your hands clean. In humid weather, sweaty hands smudge pencil and chalk quickly, so rest a clean cotton cloth under your palm.
Once the design is on the fabric, start with the outlines. Our basic embroidery stitches guide explains which line stitches suit which parts of a design.
How do you remove transfer marks after stitching?
Remove transfer marks according to the tool you used: rinse out water-soluble pen and stabiliser in cool water, use gentle heat for heat-erasable pens and brush off chalk. Always remove marks before ironing, and before framing or gifting a piece.
- Water-soluble pen: dab with a damp cotton bud or rinse the whole piece in cool water. Repeat if a faint line remains.
- Stabiliser: soak in cool water until it dissolves, then rinse thoroughly.
- Heat-erasable pen: a few seconds of warm air or a low iron through a pressing cloth. Check again after the piece has sat somewhere cool.
- Chalk: brush off gently or rinse.
- Pencil or iron-on marks: these should already be hidden under stitches.
Let the piece dry flat on a towel, away from harsh direct sun. When it is dry, you can finish or frame it; our post on caring for your embroidery covers keeping it looking fresh afterwards.
How we handle transfers in the studio
For custom orders, we transfer your approved sketch onto cotton-linen and begin stitching with a backstitch outline. After you share your idea, we draw a sketch and share it with the price and timeline, and you approve it or request tweaks before any thread goes in.
You can see each of these stages, from pencil lines to the finished hoop, on our process page.
Frequently asked questions
What is the easiest way to transfer an embroidery pattern?
For light, thin fabric, tracing against a sunny window or light box with a water-soluble pen is the easiest. It needs no special supplies beyond the pen and some tape.
How do I transfer a pattern onto dark fabric?
Use water-soluble stabiliser, tissue paper, or light-coloured transfer paper, since you cannot see through dark fabric. A white chalk pencil also works for simple shapes.
Can I use a regular pencil on fabric?
Yes, a light, sharp pencil works well on light fabrics, but graphite does not wash out easily. Draw lightly and make sure every line will be covered by stitches.
Why did my water-soluble pen marks not wash out?
Heat is the usual reason, such as ironing over the marks or leaving the piece in strong sun first. Soak in cool water and repeat gently. Always test pens on a scrap first.
Do I need to reverse my design before transferring?
Only for iron-on transfer pens and pencils, which print a mirror image. Window tracing, carbon paper and stabiliser keep the design the right way round.
Choose your method and start stitching
Learning how to transfer embroidery pattern to fabric is mostly about matching the method to the material: window tracing for light cotton, stabiliser for dark fabric and tees, carbon paper for thick cloth, and a light pencil when you want to draw freely.
Test your marker, trace lightly and stitch the outlines first. And if you would rather leave the drawing and stitching to us, share your idea through our custom order form, or browse finished pieces in the shop.
Topics: how to transfer embroidery pattern to fabric, embroidery pattern transfer methods, how to trace embroidery design on fabric, transfer embroidery design to dark fabric, water soluble stabilizer embroidery, embroidery transfer pen, how to draw embroidery design on cloth, carbon paper embroidery transfer