Tips
How to Finish an Embroidery Hoop: A Neat, Step-by-Step Guide
Your stitching is done, now make the back as tidy as the front. Here is how to finish an embroidery hoop so it looks gift-ready and lasts for years.
By Harshit Soni · Published · Updated
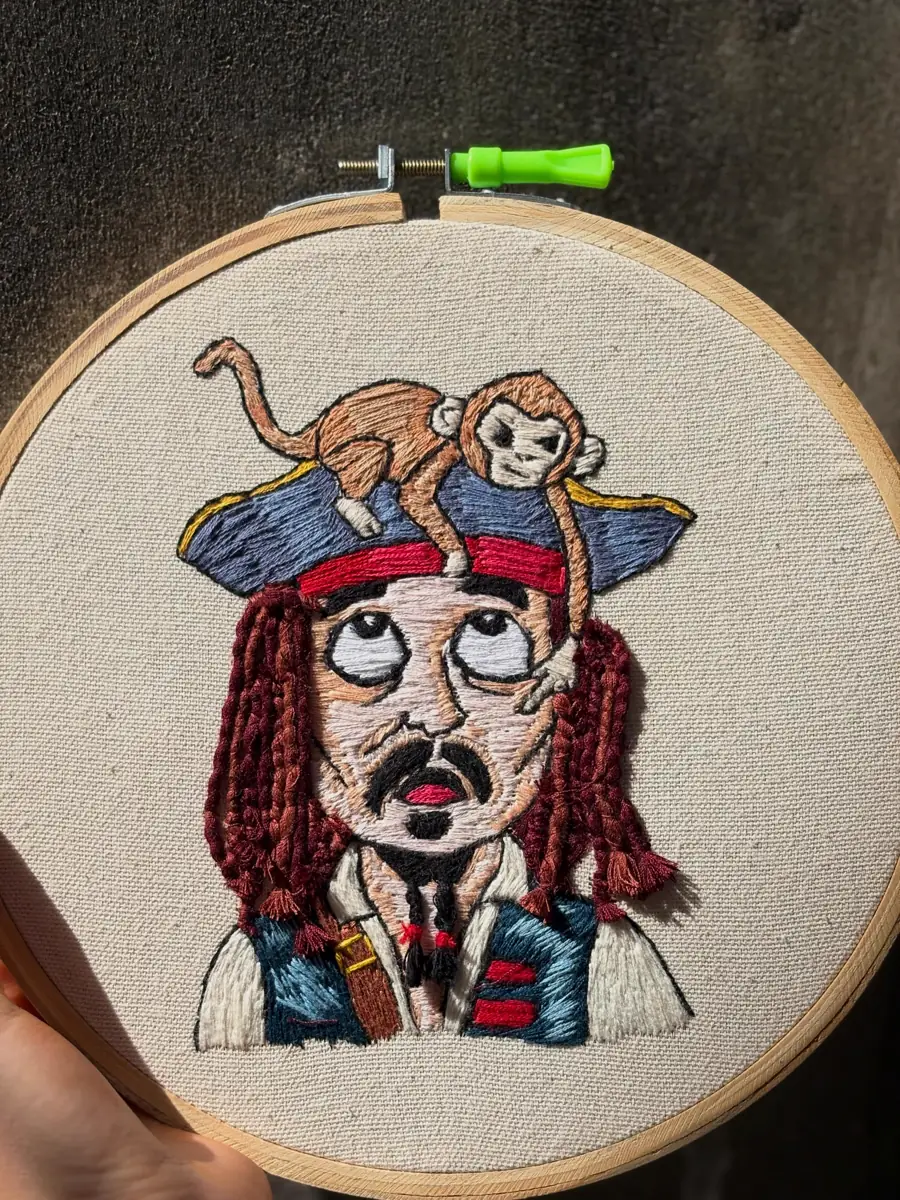
To finish an embroidery hoop, remove any pattern marks, press the fabric face down on a towel, re-hoop it drum-tight with the screw at the top, trim the fabric to two or three centimetres, gather it with a running stitch and cover the back with a felt circle. Then hang it from the screw.
You have tied off the last French knot and the design finally looks the way you pictured it. Now comes the part many stitchers rush: learning how to finish an embroidery hoop properly, so the piece hangs straight, the back looks tidy and the fabric stays taut for years.
A good finish is what separates a craft project from something you are proud to hang on a wall or hand over as a gift. It hides loose fabric and thread tails, protects the back of your stitches, and gives the hoop a clean edge when someone turns it over, which they always do.
At Haré Creations we finish every hoop by hand before it is packed. This guide shares the method we trust, plus a few alternatives, so you can choose what suits your piece. If you are still at the stitching stage, our guide to transferring a pattern covers the start of the journey.
Key takeaways
- Remove water-soluble pen lines with water before any iron touches the fabric.
- Press embroidery face down on a folded towel so raised stitches keep their shape.
- A drum-tight surface, with the screw at the top, is the base of a neat finish.
- A running stitch gathers the back; a felt circle hides it and keeps dust out.
- Stitching is easier to undo later than glue, so choose it for pieces you may re-hoop.
What do you need to finish an embroidery hoop?
To finish an embroidery hoop you need only basic sewing supplies, and most of them are probably already in your sewing box:
- Your finished embroidery, still in its wooden hoop or ready to go back in.
- Sharp fabric scissors.
- A needle and strong thread, such as regular sewing thread or two strands of stranded cotton.
- A piece of felt slightly larger than the hoop, in a colour that suits the design.
- A pencil or chalk to trace the inner ring.
- Optional: a plain cotton backing fabric, fabric glue, a small towel and an iron.
Step 1: Clean off marks and press the fabric
Clean off any visible pattern lines before trimming, using the method that matches the pen or pencil you drew with. Check before adding water or heat.
Water-soluble pen
Dab the lines with a damp cotton bud or clean cloth, or rinse the fabric gently in cold water. Avoid ironing over water-soluble marks before they are gone, because heat can make them harder to remove.
Heat-erasable pen
These lines usually disappear with a warm iron or hair dryer. Be aware that some heat-erasable inks can reappear in cold conditions and may leave faint ghost lines on some fabrics, so test on a scrap first next time.
Pencil
Light pencil lines are often hidden under the stitches. For anything still visible, a soft eraser used gently can help. Avoid scrubbing, which roughens the fabric.
Once the fabric is clean and dry, take it out of the hoop and press it. Lay a folded towel on your ironing surface, place the embroidery face down on it and press from the back. The towel cushions the stitches so they stay raised instead of flattening. Use a heat setting suited to the fabric; cotton-linen handles medium heat well.
Step 2: Re-hoop and get the tension right
Re-hoop the fabric drum-tight, because tension is the real secret to how to finish an embroidery hoop well. Loose fabric ripples, and over time it can sag and pull the stitches out of shape.
- Place the inner ring on a flat table and lay the fabric over it, design centred.
- Loosen the outer ring screw, press the outer ring down over the fabric and inner ring.
- Tighten the screw a little, then gently pull the fabric edges all round, like tuning a drum.
- Tighten the screw fully once the surface is smooth and the design is straight.
- Position the screw at the top, since that is where the hoop will hang from.
Check the design is level with the screw. It is surprisingly easy to end up with a character leaning slightly to one side. Look at it from a distance before you commit.
Step 3: Trim the excess fabric
Trim the excess fabric from the back into a rough circle, leaving about two to three centimetres beyond the hoop edge. Leave too little and you cannot gather it; leave too much and the back becomes bulky.
If your fabric frays easily, work the next step soon after trimming. Cotton-linen frays a little at cut edges, but the gathering stitch holds it in place.
How do you gather the back of an embroidery hoop?
Gather the back of an embroidery hoop with a simple running stitch that pulls the loose fabric inwards so it hugs the inner ring neatly. It is the step that makes the biggest difference.
- Thread your needle with a long length of strong thread and knot the end well.
- Work a running stitch around the fabric edge, about one centimetre in from the cut edge.
- Keep stitches roughly even; they do not need to be pretty.
- When you get back to the start, pull the thread gently so the fabric gathers towards the centre.
- Tighten until the fabric folds neatly over the inner ring, then secure with a few small stitches and a knot.
Your embroidery back, with its thread tails and knots, is now tucked inside the gathered fabric. For light or thin fabric, you can place a circle of plain cotton behind the embroidery before gathering, so dark thread tails do not show through the front.
How do you add felt backing to an embroidery hoop?
Add felt backing by cutting a circle the size of the inner ring and stitching it over the gathered fabric. Felt gives the back a clean, finished look and keeps dust off the reverse of your stitches.
- Place the inner ring on the felt and trace around its outer edge with a pencil or chalk.
- Cut the circle just inside the line so it sits snugly inside the gathered back.
- Lay the felt over the gathered fabric.
- Whip stitch or blanket stitch the felt edge to the folded fabric all the way round, catching only the fabric and felt, not the front of the embroidery.
- Knot and hide the thread tail between the layers.
Choose a felt colour that matches the fabric or the mood of the piece. White or cream is classic; a colour pop can be a lovely surprise when someone turns the hoop over.
Other ways to finish an embroidery hoop
The gather-and-felt method is our favourite way to finish an embroidery hoop, but it is not the only option. Pick based on time, tools and how the piece will be used.
Glue finish
Run a thin line of fabric glue on the inside edge of the inner ring, fold the trimmed fabric over and press it in place. It is quick and flat, but it is harder to undo if you ever want to re-hoop or wash the piece. Use glue sparingly so it does not seep through.
Card or felt disc pressed in
Cut a circle of stiff card or thick felt to fit inside the back of the hoop and press it in over the gathered fabric. This gives a very flat, neat back and is handy if you want to write a note or date on it for a gift.
Framing or other uses
You can also remove the embroidery from the hoop altogether and have it mounted in a picture frame, or turn it into a cushion cover or pouch. These need different finishing, but the cleaning and pressing steps above still apply.
| Method | How it works | Easy to undo? | Best for |
|---|---|---|---|
| Gather and felt | Running stitch gathers the fabric, felt is stitched over it | Yes | Gifts and wall hoops |
| Glue finish | Fabric glued to the inside of the inner ring | No | Quick, flat backs |
| Card or felt disc | Stiff circle pressed in over the gathered fabric | Yes | A back you can write a note on |
| Frame or sew into an item | Fabric removed from the hoop and mounted or sewn | Depends | Picture frames, cushions, pouches |
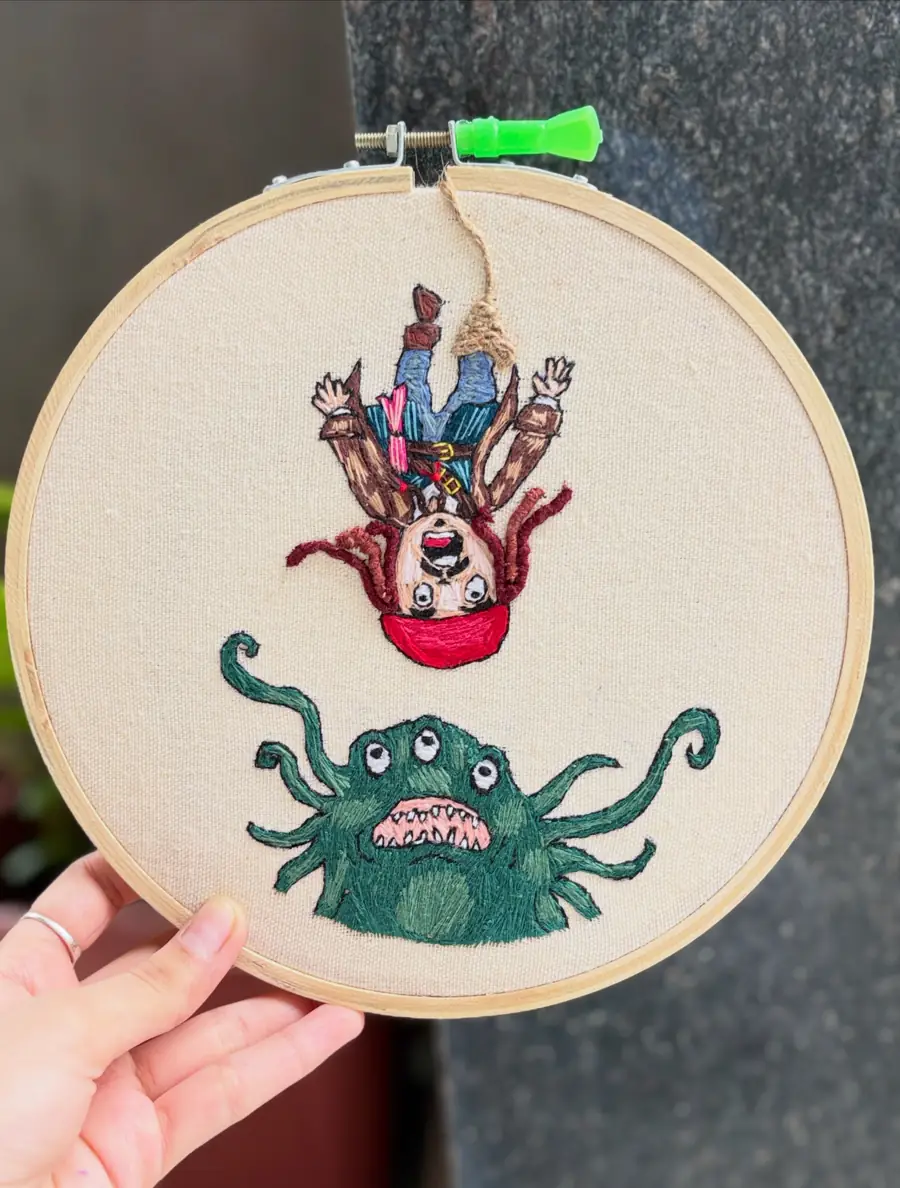
How do you hang embroidery hoop art?
Hang embroidery hoop art from its screw on a small nail or hook, and decorate the wooden ring first if you like. If you want to paint or stain the outer ring, do it before mounting the fabric and let it dry completely, so no colour transfers onto your embroidery.
- Hang it from a small nail or hook, using the screw at the top as a hanger.
- Tie a ribbon or twine through the screw for a softer look, especially for nursery or festive decor.
- Group hoops of different sizes together to build a small gallery wall.
- Lean smaller hoops on a shelf or bookcase if you do not want to put nails in the wall.
For more display ideas, take a look at our post on embroidery hoop art as home decor.
Common mistakes when learning how to finish an embroidery hoop
Most finishing problems come from rushing the last ten minutes of a project that took days or weeks. These are the slips we see most often, and they are all easy to avoid once you know them.
- Trimming before pressing: pressing afterwards is awkward, and creases get locked in under the gathered fabric.
- Setting marker lines with heat: always remove water-soluble lines with water before any iron touches the fabric.
- Hooping at an angle: the design looks fine up close but tilts once it hangs, so step back and check before tightening.
- Using weak thread to gather: ordinary thread can snap when you pull it tight, so use a doubled or stronger thread.
- Stitching the felt through to the front: catch only the folded fabric and felt so nothing shows on the design side.
- Leaving thread tails long on the back: trim them short before gathering so they do not create lumps or show through light fabric.
Take your time with each step and the finish will match the care you put into the stitching. Once you have done it a couple of times, the whole process takes only a short while.
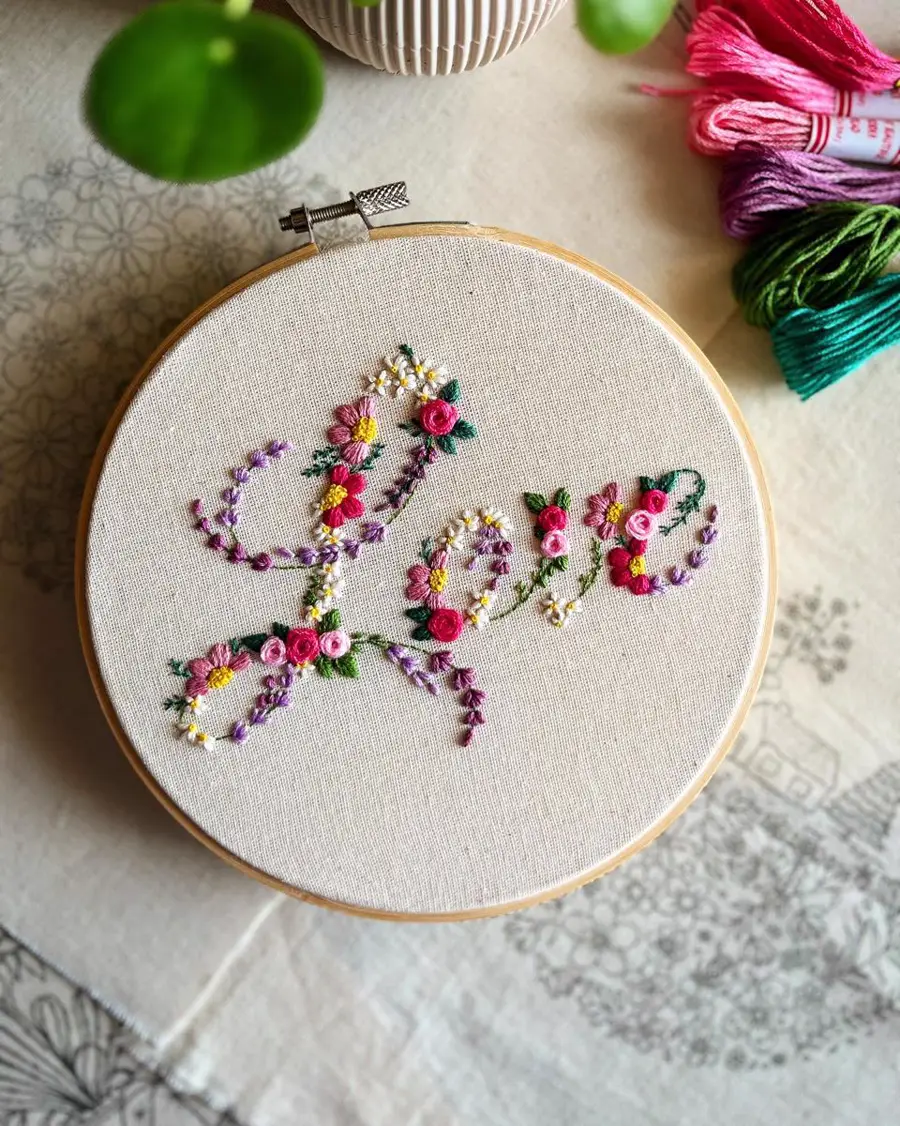
Pieces with lots of raised texture, like the French knots and blooms on our Love lettering hoop, need extra care when pressing. Always press these face down on a thick towel so the knots keep their shape.
How do you keep a finished hoop looking fresh?
A finished hoop stays fresh with gentle dusting and a dry, shaded spot on the wall. Indian homes bring a few challenges: dust settles quickly, sunlight through a window can fade threads, and monsoon humidity can make fabric feel soft and slack.
- Dust gently with a soft, dry brush or a clean makeup brush every few weeks.
- Hang hoops away from direct sunlight to protect thread colours.
- Avoid damp walls, kitchens and spots right next to bathrooms, especially in the monsoon.
- If the fabric loosens over time, gently tighten the screw and smooth the surface.
- Do not wash a finished hoop; spot clean only if really needed.
Our full embroidery care guide goes deeper into storage and cleaning for both hoops and clothes.
Frequently asked questions
Do I have to take my embroidery out of the hoop to finish it?
Not always, but it helps. Taking it out lets you clean off marks and press the fabric properly before re-hooping it tightly. If the fabric is already clean and taut, you can go straight to trimming and gathering.
How much fabric should I leave when trimming?
About two to three centimetres beyond the hoop edge works well for most hoops. That leaves enough fabric for a running stitch to gather neatly, without so much that the back becomes bulky.
Is felt backing necessary?
It is not essential, but it makes the back look finished and protects the stitches from dust. For gifts, we think it is worth the few extra minutes. A card disc or plain fabric circle also works.
Can I use glue instead of stitching to finish a hoop?
Yes, fabric glue on the inner ring is a quick option. The downside is that it is hard to reverse, so if you think you might want to re-hoop, clean or reframe the piece later, stitching is the safer choice.
Why is my finished hoop fabric sagging?
Usually the fabric was not tight enough when it went into the hoop, or humidity has relaxed the fibres. Tighten the screw and gently pull the fabric smooth from the back. Hooping drum-tight before gathering helps prevent this.
Ready to finish, or ready to gift?
Now you know how to finish an embroidery hoop from start to end: clean, press, re-hoop tight, trim, gather, back with felt and hang. It takes a little patience, but it turns your stitching into something that feels complete and gift-ready.
If you would like a hoop that arrives already finished, browse the shop or share your idea through our custom order form. We sketch your design first and share the price and timeline with it, then stitch, finish and pack it with care.
Topics: how to finish an embroidery hoop, embroidery hoop backing with felt, how to hang embroidery hoop art, how to trim fabric on embroidery hoop, gathering stitch embroidery hoop back, how to remove water soluble pen from embroidery, embroidery hoop gift ideas, how to display hand embroidery